My goodness, Easter is upon us and here I am doing my first Easter post. I apologize for not getting to this sooner, but you still have time my friends to make natural dye and colour eggs before Easter Sunday! My Grandmother dyed eggs naturally when I was a child and this year I felt to extend myself from store bought dyes, with hopes that the childhood learning from my Grandmother was inside of me. I felt really good to make natural dyes and colour eggs naturally with my children. It is part of my personal shift to honor the environment and increase my earth friendly ways. It was the number one activity on my Easter project list and feels like it will be an annual part of our Easter celebration. The process takes time, offers magic (although our house smelt like I was making sauerkraut) and I adore the results. Maybe not as lovely as I remember Grandma’s but I think our Easter eggs are gorgeous.

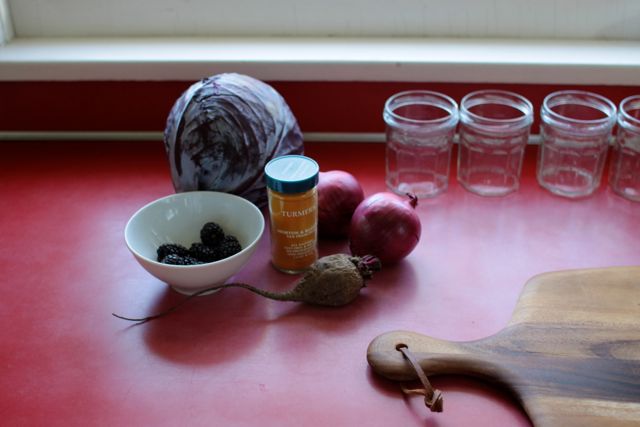

I did a little research on the web to stimulate my memories, and saw that generally everyone is using the same things to create natural dyes. The best results are achieved with red cabbage, turmeric, beetroot, and onion skins. There were a few other things to try also, but I felt like for our first time making natural dye, this was enough. I also tried blackberries, but did not see good results, so I combined the beetroot and blackberry dye mixtures.

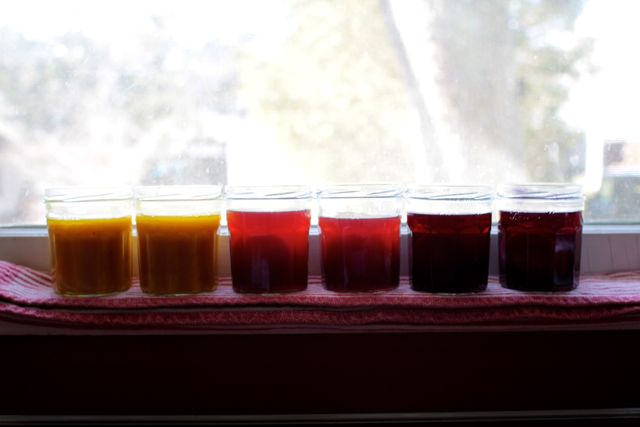
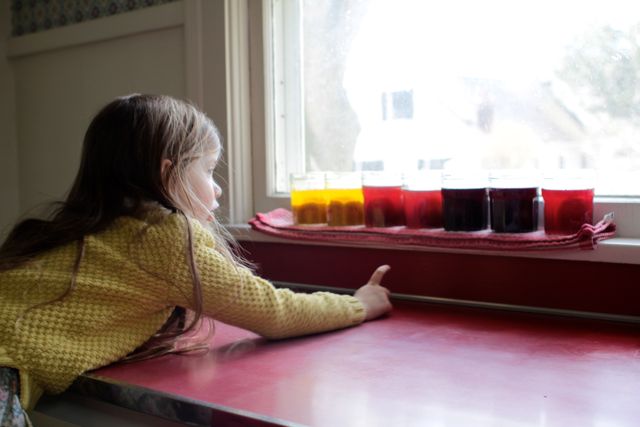
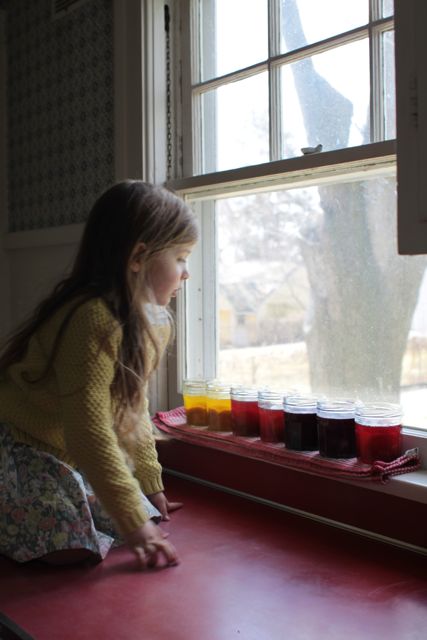
I added enough water to cover eggs in a medium pot and boiled each item, with the eggs. I figured the egg boiling in the solution would help enhance the effects. I boiled the eggs for 12 minutes. I then strained the solution into small glass jars. I added a tablespoon of white vinegar to each jar, and let the eggs soak individually one egg per jar. Some eggs sat in the solution for hours, and some of the eggs sat over night. I dyed some without boiling the eggs in the solution, but I made sure the eggs went straight from the boil, while they were still very hot, into the solution. I think hot eggs take in more dye.

When removing the eggs, you have to be careful not to damage the dye coating, it forms a very thin film over the egg and if you let it be, it dries, and you obtain the richer colour. This part is really important to achieve eggs like mine. I used a spoon to take them out of the solution and then lay then gently on paper towel and did not touch them until they were dry. If you smudge or wash the eggs, you will have mottled or light coloured eggs. I washed one, but did not like it so much. This I learnt from trial and error. You can see that some of mine are touched and bumped, smudged or washed and some are not.

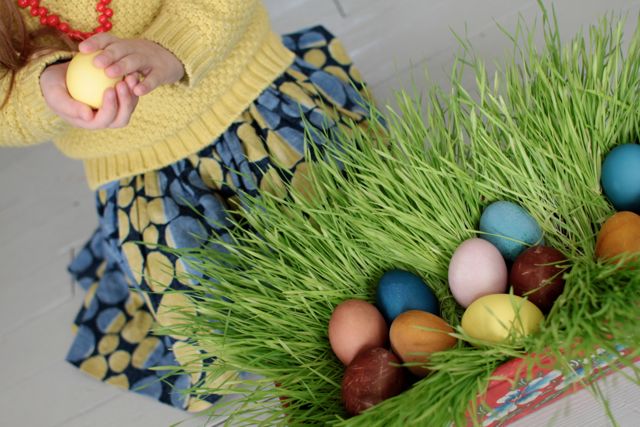
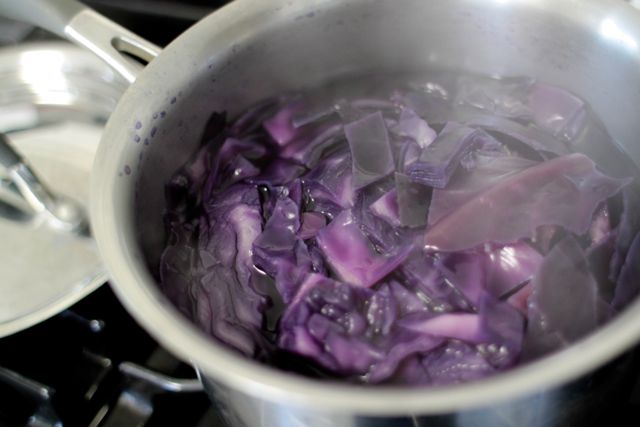
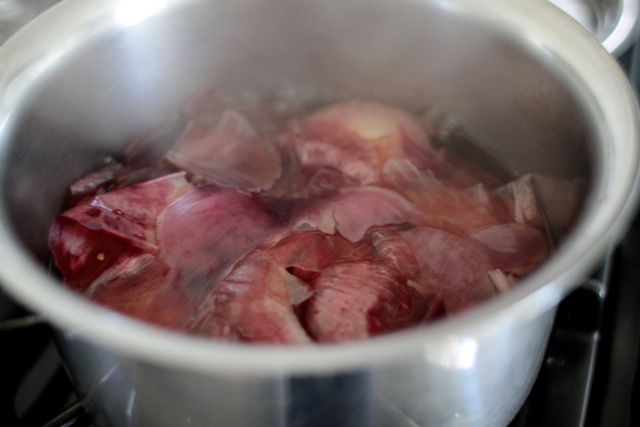
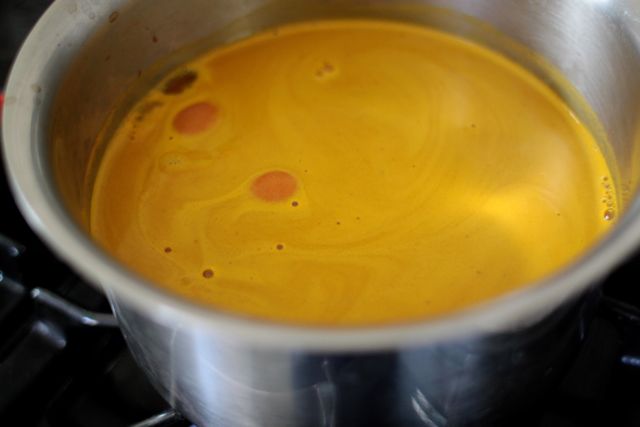
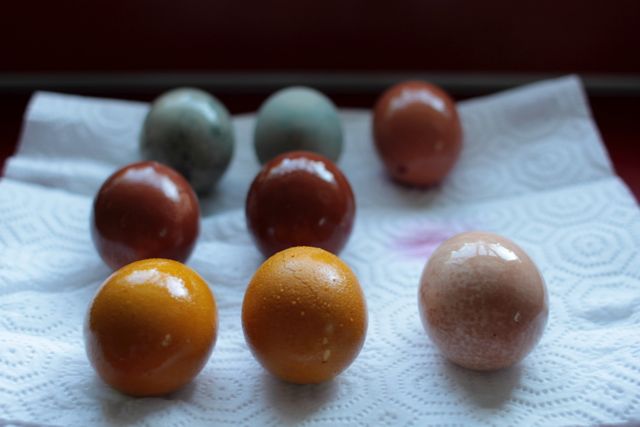
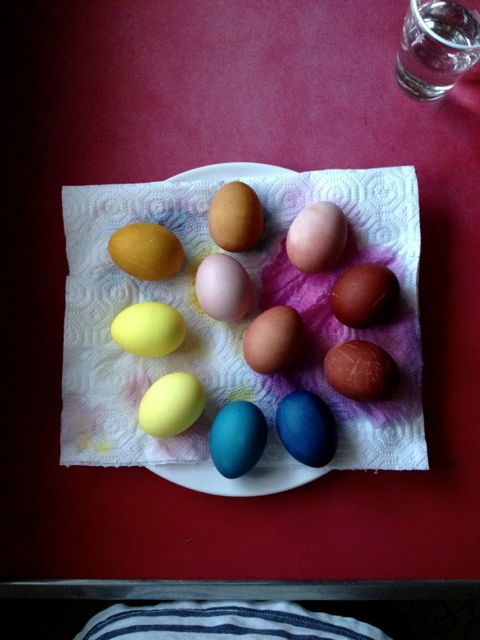
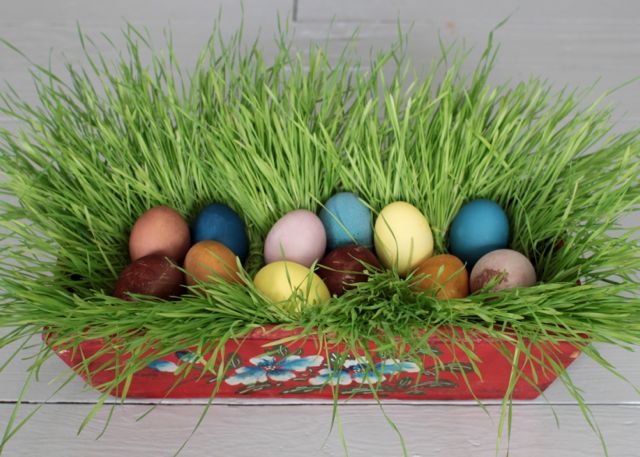
The red cabbage offers the most dramatic transformation. If the egg is left to sit for a long period of time it creates a rich, deep blue, which is really a lovely colour. I boiled the outer half of a small cabbage. The turmeric makes a lively sulfur yellow. I used 4 tablespoon of turmeric. I can’t get enough of the yellow and blue together. The red onion made a reddish brown, and the beetroot made pale pinkish lavender. I used only two onion skins and only one small beetroot. Maybe with a more intense solution the colours would have been richer. I just used what I already had in the fridge. We used both brown and white eggs to achieve colour variety. The dye colour of the white eggs are more vibrant, while the brown eggs give muted tones.
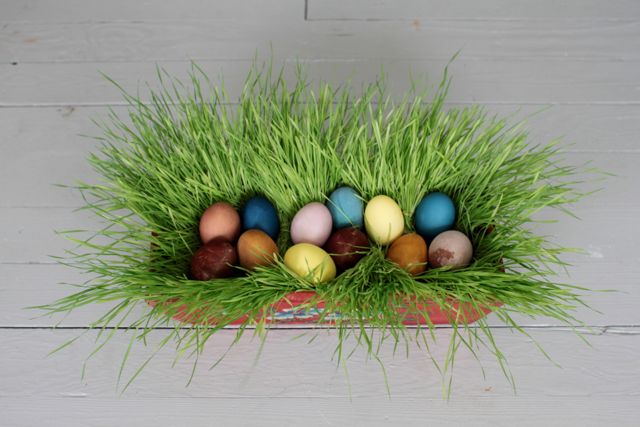
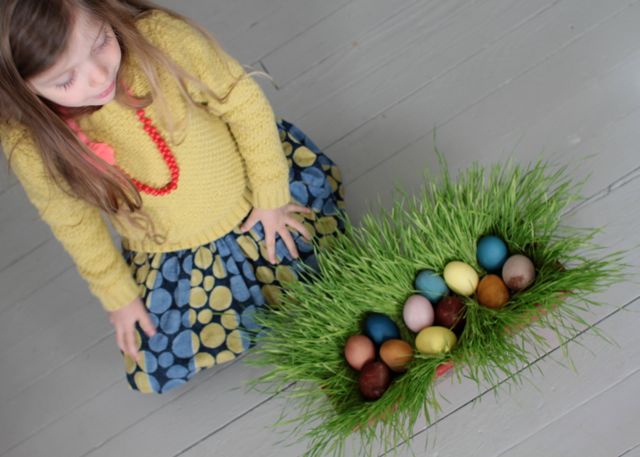
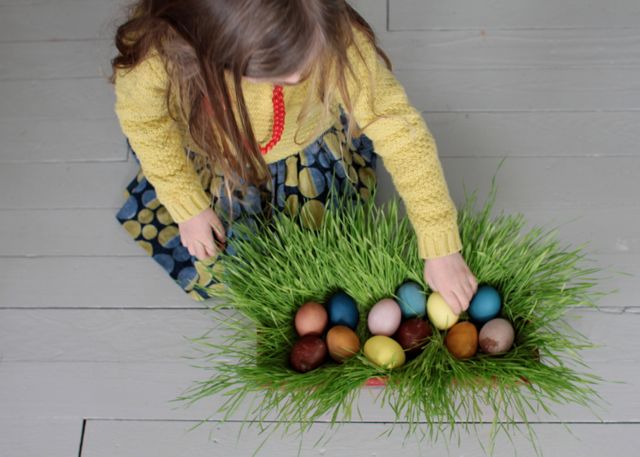
I am really happy with these earthy hues, I could not have achieved these gorgeous colours with store bought dye. I love that the process taught the girls about making and mixing natural dyes from things right out of our fridge and cupboard. Elle created this beautiful center piece for our table with wheatgrass, eggs, moss and clover. We are so inspired, and so very glad Spring is here!
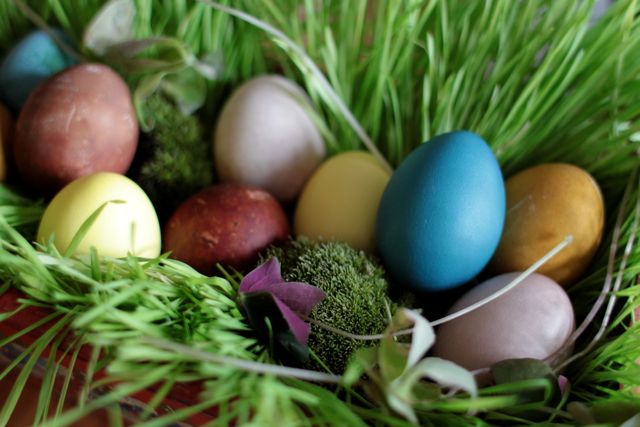
Natural Dye Reference
Blue: Red Cabbage
Yellow: Tumeric
Reddish Brown: Red Onion Skin
Pinkish Lavender: Beetroot


Thanks for posting this Kirsten. I’m eager to try it!
You are welcome Sonia! I think the key is to have a strong solution, hot water, hot egg and to let it sit for a long time. Oh and to be gentle when handling them before they dry. I am sure you will make beautiful eggs! Happy Easter to you and your family. xoxo
Beautiful colors
Hello! I found this gem on an idea through Pinterest which led me to your blog. I’ll be attempting to make some for my 15 month old daughter to collect around the house for her first Easter Egg hunt. Thank you so much for the easy tutorial! Xo
I can’t tell you how excited we are to make these! Also, our 26 wheatgrass baskets are coming along nicely. It’s all making my heart sing! Thank you so much for your generosity in sharing this with us as well as your gorgeous photos! <3
Rachel I am so pleased you have grown wheat grass basket this year! Yay! It makes me so happy to know it will be adored by your family.
Thank you so much!