
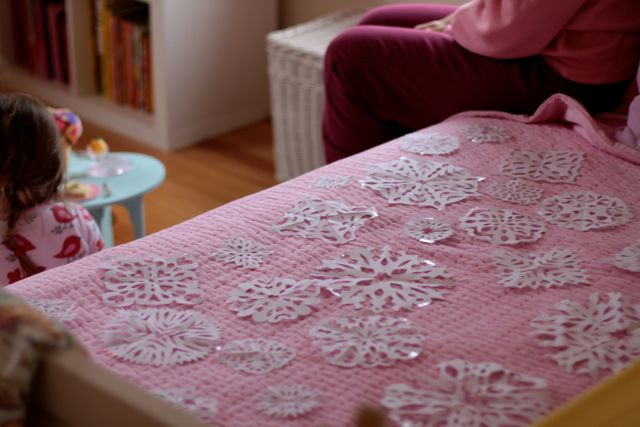
When Spring approaches and the last snow for the season seems to have passed, we take down our paper snowflakes and turn them into Easter eggs. It is always sad to see our pretty wintry snowflakes go, but the positive thoughts of spring quickly come to mind and we know Spring brings so much beauty to our lives, oh my goodness, so much beauty.
I have saved these paper Easter eggs each time we have done this project, and now with this years batch included, we have a great collection. This year, Grandma was here to help remove the snowflakes from the windows – an easy process as I put them up with a few small pieces of clear tape that peels off the windows simply.
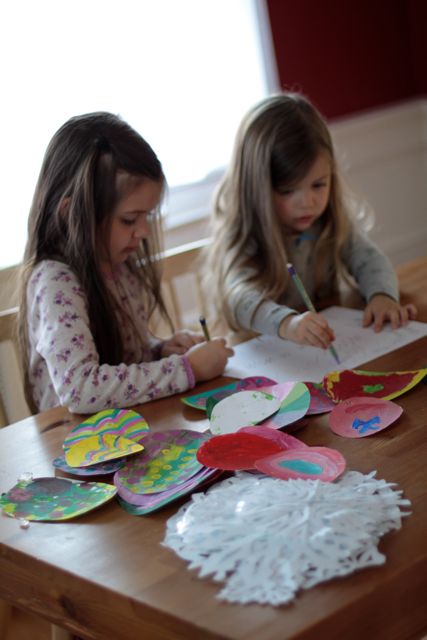
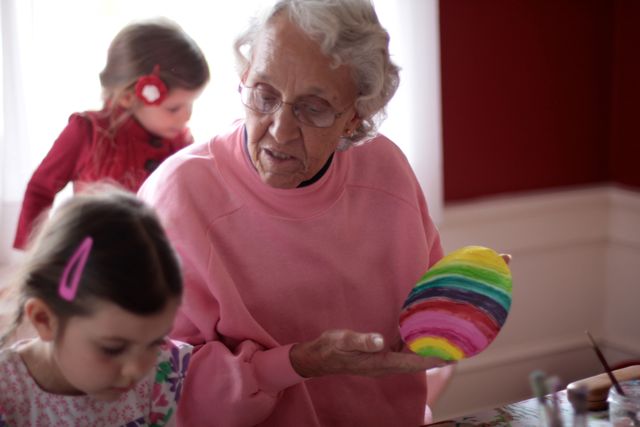
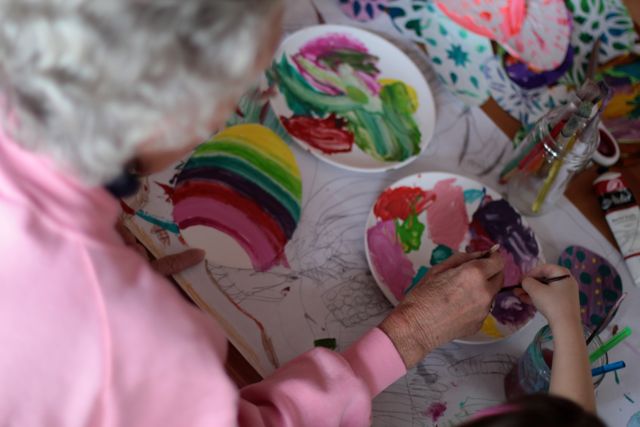
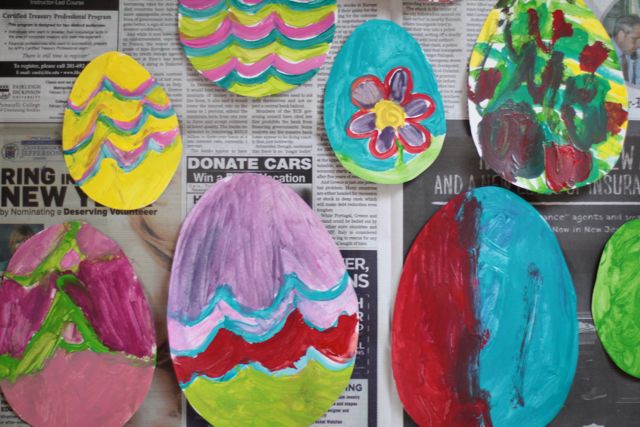
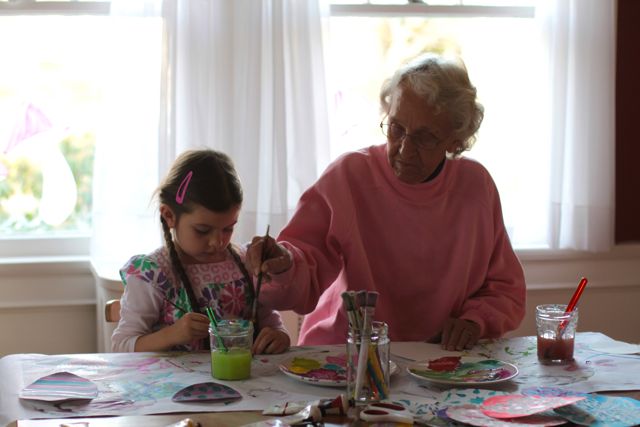
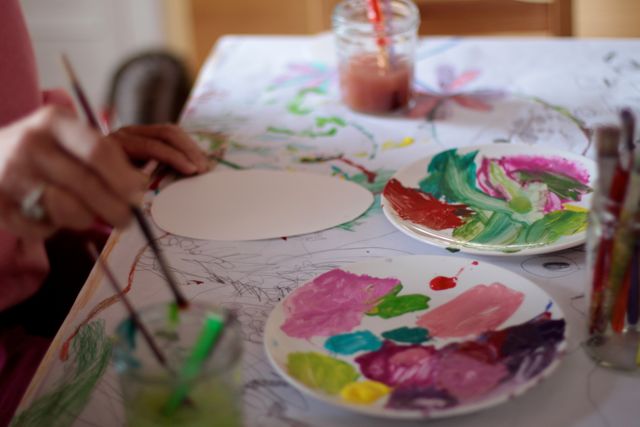
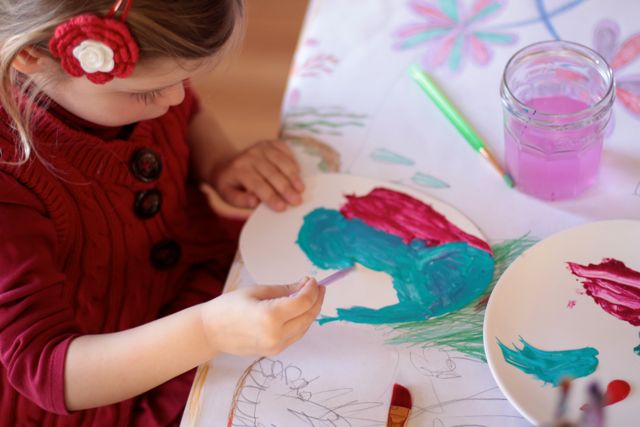
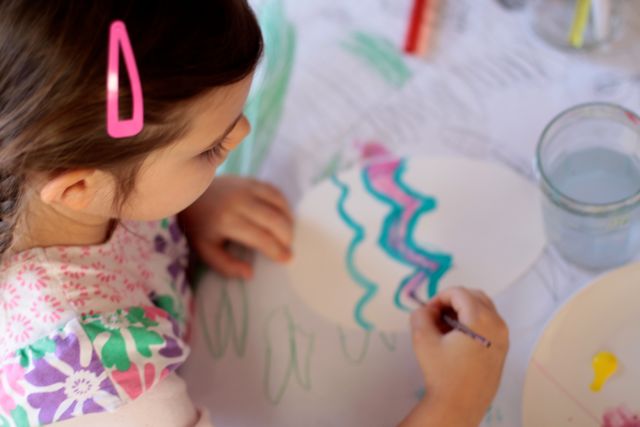
Grandma also sat in on the painting of the bases, and even painted one herself. You could hear me saying “Tutu is a very good at painting, she painted that picture above our fireplace”. Maya was suitably impressed by this and then asked Tutu for color mixing advice. As each year goes by, doing an annual activity like this I am able to see how skills have developed from the last year. Maya was very into painting decoration and patterns on the eggs much more than ever before. Most of the egg bases she painted we did not glue snowflakes over as she had put in so much effort into them, they were special…which reminds me, I really need to go back and date the previous batches…the 2010 , and 2011…and now, here is the 2012 bunch.

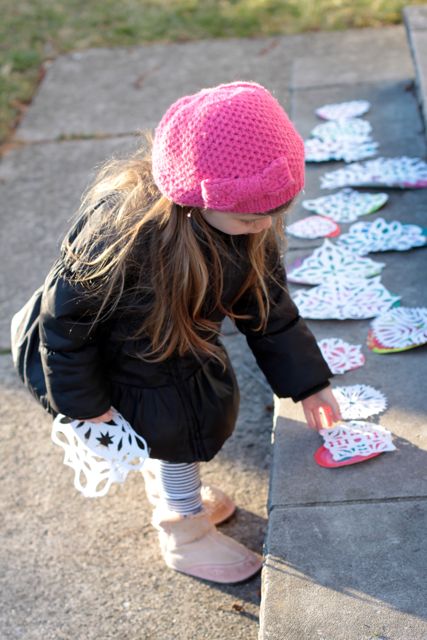
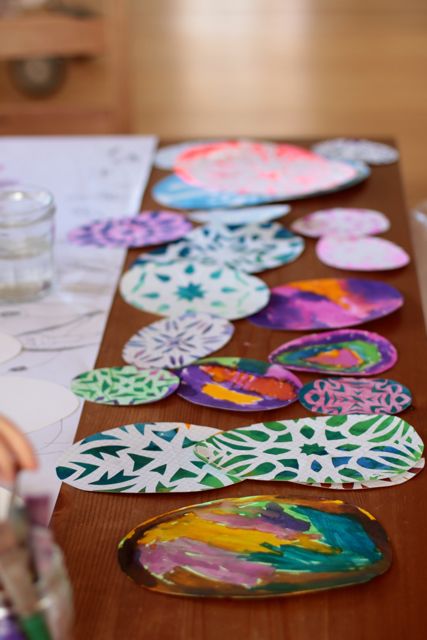
After all of the bases were painted and dried, I glued the snowflakes onto the egg shaped base. This year I used spray fixative to adhere them together, but in the past I have used a glue stick. I had the spray adhesive from making the cup-cake stand, and so though I might as well try it. It certainly made it easy. Elle was my outside helper for this job. After the glue was dry, I trimmed away the excess paper snowflakes down to the egg shaped base. I love how snowflakes make the egg bases look like Lithuanian Easter Eggs.

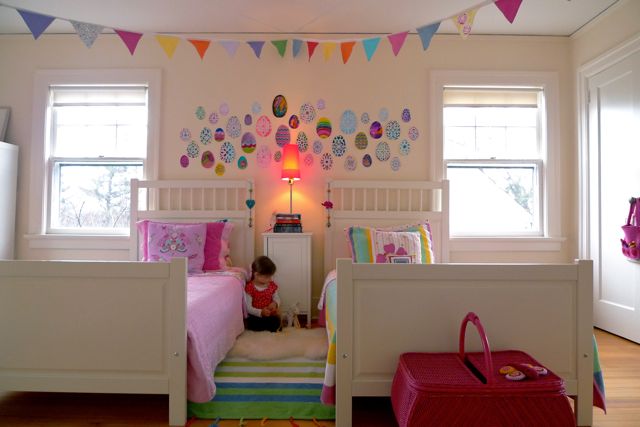
I was not sure where to install them, and ended up putting them above the Girls beds. To start with I placed them randomly, and then after putting them all up, I stood back and thought I should try something else, which led to a linear installation. I would love to hear which version you like the best? After completing this, I wanted to re-work it again and tweak the linear version. All of a sudden I felt like an Art Graduate again, spending my days installing, and re-installing to my hearts content. However it was tedious re-doing it as the sticky tac I was using had very little stick to it – I had only just bought it, but maybe old? This along with three loads of laundry that were starring me down meant I had to stop playing art installation and do the housework. I have since gone back and straightened it up a little…in a perfectionist sort of way…and want to make a few more tiny eggs to fill in the gaps. As it is though, it makes for a very bright and cheery Easter decoration, and puts a smile on my face each time I walk in the room. We are looking forward to Easter, only a month away now friends.


Kirsten,
I know that you put so much effort into getting the linear design right, but I have to say that I prefer the first installation … with the soft light from the lamp, the non-linear would have to be my preference … softer!
🙂
Thanks for your feedback Zoe – it might just shift again before Easter I think! Love hearing your thoughts, thank you!
Personal preference is the non-linear installation.
Much more interesting.